ViewSonic VP2468 24in LCD monitor review – a great solution for pro stills and video
- - Amateur Photographer.
A high-quality monitor doesn't necessarily have to come at a high price, as Vincent Oliver find out
ViewSonic’s VP2468 is an affordable Full HD LCD monitor that uses in-plane switching (IPS) technology to give wide viewing angles
ViewSonic VP2468 24in LCD monitor at a glance:
- Panel type 24inW SuperClear® IPS
- Display area 527x296mm
- Resolution Full HD 1920×1080
- Viewing angles 178 degrees H / 178 degrees V
- Height adjustment 0-130mm
- Power 22W
- Dimensions 539(W) x 519(H) x 215 mm(D) with stand
- Weight 5.65kg with stand
- Connections Display Port in, Display Port out, Mini Display Port, 2 HDMI
- Price £227
- Website www.viewsoniceurope.com/uk
When it comes to image quality, photographers look to the reviews to see which camera and lens combination produces the best results for their needs. But to truly appreciate the image quality of any digital camera, a high-quality monitor is essential. In this review, we will be looking at the ViewSonic VP2468 24in – a keenly priced professional- grade monitor with Full HD resolution.
The hardware set-up is simple. First, attach the screen to the rear arm of the base unit using the four Philips screws supplied. Next, connect the screen to a computer. There are three connection types: two HDMI (High Definition Multimedia Interface) ports; Display Port in and out ports; and a Mini Display Port. There is no DVI connection, which may be a problem for users with older graphic cards.
The HDMI port is perhaps the most popular choice, as this is compatible with set-top boxes, DVD and Blu-ray players, camcorders, digital cameras and some smartphones. Make sure you use a High-Speed HDMI cable, as this will carry video with a resolution up to 1080p and 3D video. There is also a USB 3.0 input port and four USB 3.0 output ports, which means you can use the monitor as a USB hub – although the rear location of the ports means it may not be the most convenient way to attach and detach peripherals. A headphone socket can also be found at the rear, which again is really not the most convenient location for it.
ViewSonic VP2468 24in LCD monitor – Controls
Five onscreen display buttons allow adjustment of the comprehensive colour and display settings
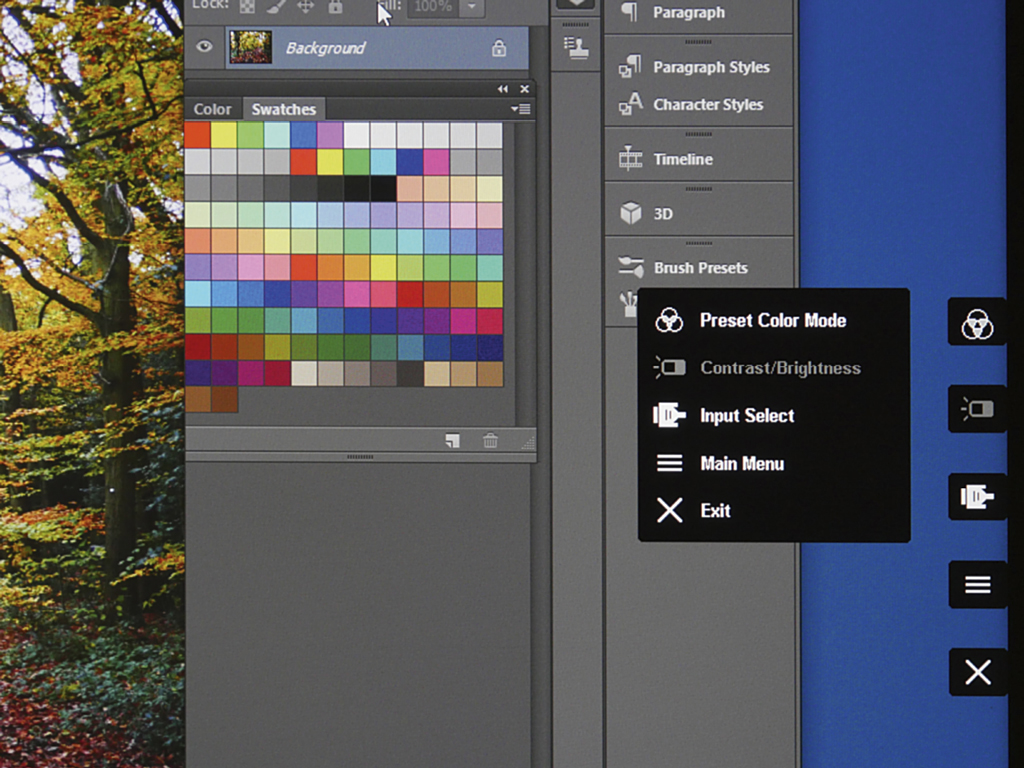
Five On Screen Display (OSD) control buttons are located behind the screen. These offer user control for brightness, contrast, temperature, saturation, gamma, hue, gain, offset, six-axis colour, audio, blue light filter, source, etc. Being out of view at the rear of the display, the controls took a while to get used to,as initially I often pressed the wrong button. Once set, the OSD can be locked by holding down the 2 and 3 buttons for 10 seconds (unlock by holding down again for 10 seconds). The power button can also be locked or unlocked by holding down buttons 2 and 4 for 10 seconds. This prevents you from accidentally turning off the monitor when making any adjustments. Just to confuse the issue, the buttons are numbered from the bottom upwards rather than the more logical top to bottom way.
Press any button to bring up the OSD menu. The top option is the Pre-set Colour Mode, which has several options, including sRGB, EBU, SMTE-C, Rec 709, DICOM SIM, Native, Cal 1, 2, 3 and Advanced mode. Use the buttons adjacent to the arrow keys to scroll through the various colour settings and press the tick button to apply the setting. I am surprised that the Adobe RGB colour space is not included with this list, as this would be an essential requirement for many professional photographers. However sRGB is the default colour space for most applications, including digital cameras, inkjet printers and internet. EBU, SMPTE-C, Rec 709 are colour spaces used for video production, and the DICOM SIM mode is mainly used when colour correcting files for digital projection. The Native setting is the factory default. Cal 1, 2 and 3 can be assigned to your own custom settings.
Other options are Contrast and Brightness, Input Select and Main Menu. The last option offers comprehensive controls on all display options, including Gamma, image sharpness, colour temperature, Gain, Hue, Offset, Saturation, audio output (volume and mute only, no tone or EQ adjustment). The user should be able to set up the screen to their own preferred requirements, and once set the OSD settings can be locked.
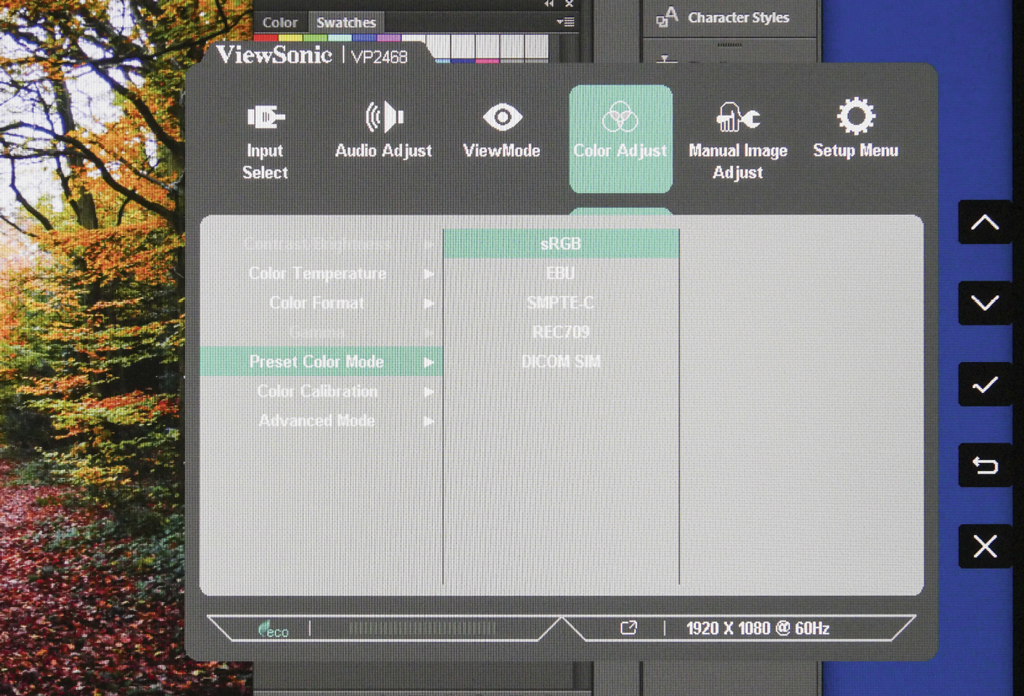
Colour preset include sRGB, but not Adobe RGB